Six aspects of scanning production
From finding the best point for scanning to processing old photos. Here is a few points in the form of examples to help you learn to "scan."
1. Finding the best scanning location
Scanning platforms on most scanners always have different scanning results at different locations. It's no surprise if you find that scanning in one area of ​​the scanning platform is better than other areas. During scanning, the image should be placed in the best scanning area as much as possible, and scanned for the best scanning results.
How to hit the best position for scanning? We can find a clean, white surface of the same size as the scan plane, such as opaque white paper, scan the scan plane in full, set the resolution to be lower, between 72~100spi. Assumption: The scanning area of ​​the scanner is 8.5*14 inches.
Put the scanned image into an image editing program, such as Photoshop, and use the “balance adjustment†menu command to exaggerate the nuances in the image area. We may see that the scanned image has black dots at the edges and there is a A light mark, stained area is about 11 inches down the area. This area is where we should be especially careful when doing fine scans.
Once the "optimum scan position" of the scanner has been determined, a paper template can be made to identify this position so that the scanner can be used more conveniently later.
2. Correct inferior colors
In poor light conditions, taking pictures often causes unnatural color differences in the pictures. But don't worry, it's much easier to color-correct images in a computer than in a darkroom. To get a good scan picture each time, it is not necessary to perform the first tone scan control function (ie: Gamma value = 1). Then the "Curve" command in the image editing program adjusts the tone until the color is appropriate and stores the curve. Use the "import Curves" command to perform a second scan. This time you will get a high quality image.
3. Scan three-dimensional objects
Scanning a three-dimensional object with a flatbed scanner is like shooting with a camera. (Of course, assume that these objects are suitable for placement on a glass platform). Generally speaking, this is a good way to get “photos†quickly and easily. And copyright is unique.
The most obvious problem in scanning three-dimensional objects is the lack of light control. Most scanners use a projection method to achieve "one-dimensional" scanning. The direction of projection is based on the light source and object of your scanner. The location on the platform decides. So we have to experiment with the scanner, where the shadow should fall every time the object is repositioned.
Scanning cylinder
Before scanning, stick the back of the object to a large piece of cardboard to prevent it from rolling—usually using a white fine paperboard that can be used as a background for the object when scanning.
Step 1: Use a preliminary scan to determine where the shadow of the object you want falls on the image. If the position of the shadowed edge on the image is not as accurate as you think, reset the object and rest its back against the platform. To produce brighter shadows, a hooded light source (such as a table lamp) can be placed on the platform near the object as an additional light. Be careful when doing this - the lamp may be hot.
Step 2: Use a "channel" mask in an image editing program such as Photoshop to convert the image background. First, use the "Lasso" selection tool and the "Option (Alt)" key to select objects and create a continuous selection path. After the object is selected, it is saved in a channel and reversed to select the background area. Then use the Gradient Fill tool to fill the background with a smooth transition color.
Step 3; This final result is the same as the lighting equipment in the studio but at a much lower cost.
Scan metal objects
When scanning a metal object, certain parts of the image will inevitably produce a metallic color band similar to that shown in the figure above (first area).
To remove these color bands, place the picture in a Photoshop program and select the color band area. Open the "Hue/Saturation" control menu, choose red, green, blue, respectively, to reduce the saturation of each color.
Remember: If you scan with a resolution of 1200 or over 1200spi, you can enhance the high-definition sense of any object. As shown in the figure, the dimes are scanned with 1200spi, enlarged 6 times, and output at 133 lpi. The details of the image are obvious.
If you need to take a close-up of a small object, using a scanner will be much faster than shooting with a camera with a miniature lens.
4. Create a color scan with a black-and-white scanner
When the object looks unreal, you can use a black and white scanner to produce a color scan image. Although this operation is sometimes time consuming, and the color of the new image is not as close to the original as the image obtained by the color scanner, this method can often ensure the characteristics of the object if necessary. The steps are as follows:
You need to use three color filters or gels: pure red, pure green, and pure blue (not blue-green). These things can be bought at the office supply store (where instructions are given for use), bought at the theater equipment store (where the filters are used to make colored stage lights) or go directly to the Eastman Kodak company to buy them (where there is a need to spend a lot of money).
Original: Suppose you scan a 4X5 inch slide with 300 psi resolution. In order to get the best output, ensure the original effect of the picture. Tape the original on the scanning table and prevent it from moving when replacing the filter. The color filter can be simply pasted on one side because it can easily replace the color filter.
Step 1: Place a red filter between the original and the scanner platform. Use "Crop" and "Set white or black spots" before scanning to determine the best exposure. (As shown in the picture, select the brightest area. On the collar label on the second sweater from the right, set the white point and select the black point inside the shoe.) Scan the image in gray mode and save it as Red Scan. , or similar signs.
Note: The red filter may be the darkest of the three filters scanned, so the scanning interference is large; if the green and blue filters are scanned without interference, the obtained scan results are acceptable.
Step 2: Remove the red filter and repeat Step 1 with the green and blue filters, respectively, and store each with a new name.
Step 3: Combine the three grayscale scans into one RGB file by selecting the "Merge channel" command in the "Channel" dialog box (under the "Mode" menu), save it as "Myscan RGB" file or something similar The name, if you want to change the effect, you can also make the appropriate adjustments.
Producing color effects with a black-and-white scanner is certainly not as effective as a color scanner. This is a case of last resort.
5, to the old photo touchup
Converting the old black and white photographs of a family member into a color version of the same image is also something that will be encountered. The method is to lighten the entire photo with a warm, warm color to complement the look of the old place, and then separately paint the different parts of the photo.
Original: A black-and-white photo that was scanned at a 200spi resolution to give a grayscale image and color it with Photoshop software.
Step 1: Put the picture in an image editing program Open and convert to two-color mode, at the same time, I choose warm reddish brown as the second color, adjust the curve of these two colors, and then convert the file to RGB mode, using a The new file name is stored.
Step 2: By separating the selected area (separated with the “Lasso†tool), use the “Paint Brush†to color any place in the photo you want to touch in the color mode (not “Normal†mode). These separated areas are to be "feathed" with a radius of 2.0 or more, blurring their contour edges.
Step 3: When coloring with the Paint Brush tool in color mode, the color used should have an opacity of 50% or less.
Step 4: Separate areas You can also modify the color balance by selecting the "Color balance" command in the "Adjust" submenu under the "Image" menu. You can slide the "triangle slider" to the left (to increase the saturation) or to the right (reduce saturation) until the desired color is obtained.
6, remove scratches and cracks
Clearing scratches and cracks in photos is very time consuming, and a flatbed scanner can make this worse because its light can only be emitted from one side of the photo, which can lead to shadows and stress artifacts. The effect of carving. The trick to solve this problem is to scan the photo twice—one at the top of the photo and the other at the bottom. Then the two scanned images are placed in a Photoshop program and the image scanned downwards is "rotated" by 180 degrees (to the right of it). Paste the two figures into the Layers panel, one on top and one on the bottom, adjust the opacity of the top layer to 50%, and adjust its position so that the two figures are actually aligned. If necessary, you can enlarge the image to operate. When the two figures are actually aligned, click on the "Merge Layer" command and the trace is cleared immediately. (to be continued)
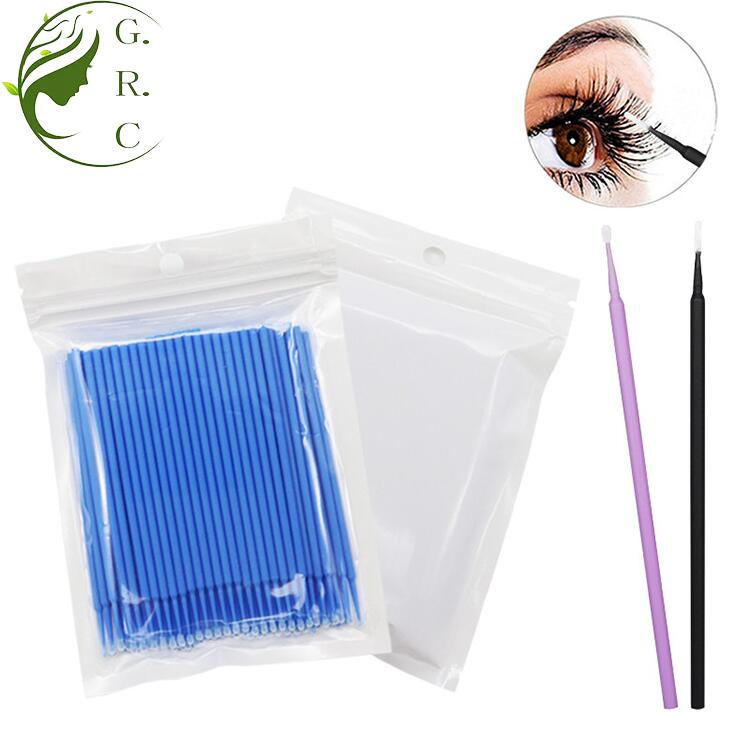
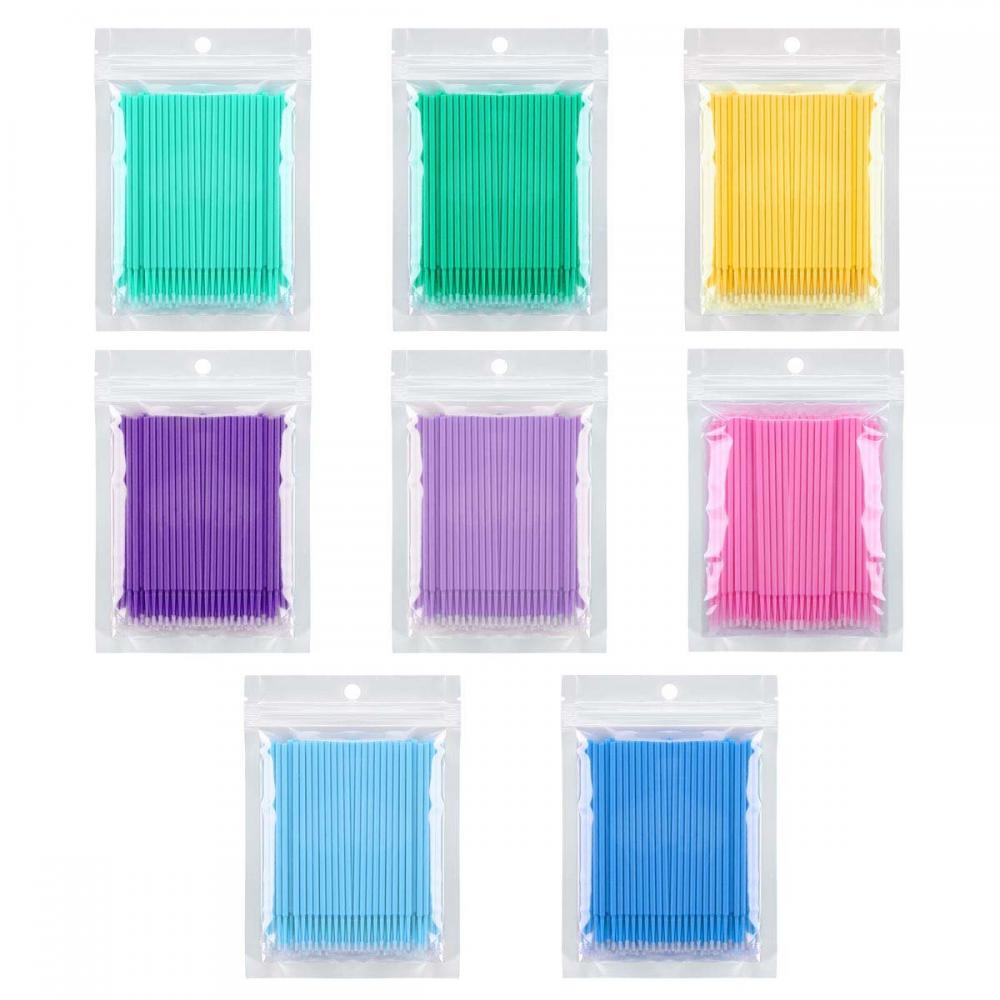
micro brush,microbrushes,micro brush dental instruction.micro applicator brush The microbrush product is composed of a plastic head and a plastic handle inlaid with fluff. It is disposable and has three models: Regular Size (head diameter 2.5mm), Fine Size (head diameter 2mm), Superfine Size (head diameter 1.5mm).microbrush dental,microbrush applicator,microbrush test swabs .Can be used for dental cleaning, eyelash cleaning and Eyelash Glue cleaning when eyelashes extension


Micro Brush,Microbrushes,Micro Brush Dental,Microbrush Dental,Microbrush Applicator,Microbrush Swabs,Micro Applicator
Shenzhen Nanfang Shishang Cosmetic Utensil Co., Ltd. , https://www.nfbrush.com