The rapid advancement in science and technology has provided us with a wide variety of outdoor convenience products. In terms of fuel, the most common include: gas tanks, oil stoves, alcohol stoves, solid alcohol and so on. With these finished fuels, plus a pot, we can make a pot of hot, fragrant food in a short period of time. However, to make these finished fuels work, it is necessary to match the corresponding burners, stoves, or hobs. However, once the fuel is used up and it is not available outdoors, it can only dry up. In nature, branches and grass are visible. Therefore, it is a must to learn and master some related simple stoves.
Now share five ways to build stoves:
1. Three-section wood stove 2. Cross-burning stove 3. Suspended stove 4. Diwo stove 5. High-top cooktop
The first kind: Three sections of wood stove
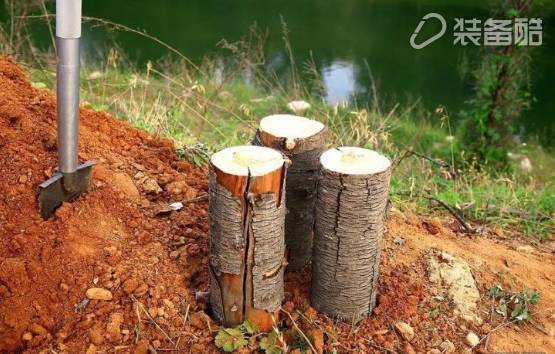
The three-section wood stove is simple in structure and does not require excessive tools.
Although the models in the photo were fat, they were still quite energetic. After a few moments and effortless efforts, three 25-cm-long round woods were used.
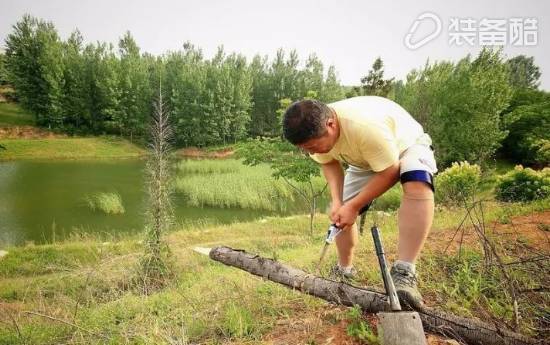
The three pieces of wood that have been sawed are erected on a flat surface in a triangle. If there are stones around them, the three pieces of wood can be tamped. Then put the paper scraps (leaves or hay) and twigs from bottom to top in the gap between the three sections of wood, and finally place the pan on the three sections of wood.

Because of the three-point support, the structure of the entire stove is relatively stable after the pan is released. Next, confetti (or hay) is ignited and the twigs are ignited. As the temperature of the burning twigs increases, it further ignites the three-segment wood, thus providing a long time heat source to the pot above.
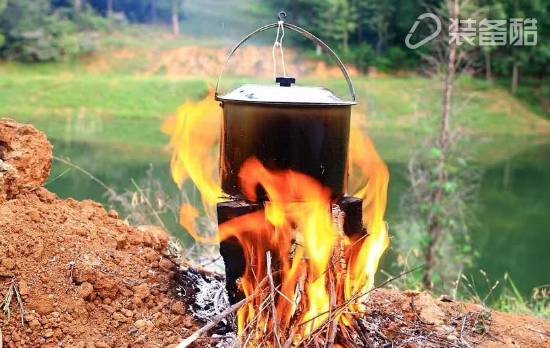
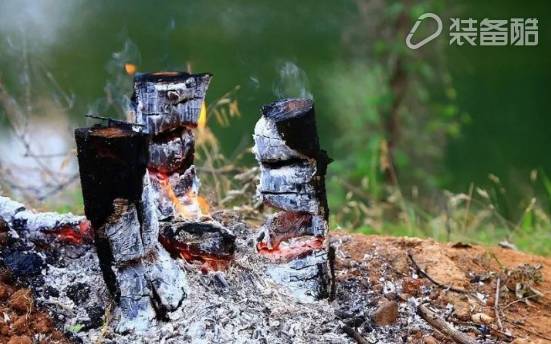
At this time, someone would ask: Will the pot above the three sections of wood be broken? The answer is yes! However, according to the actual test proved that no three sections of wood were burned and the dishes in the pot were cooked! Haha~~
The second type: Cross cooker
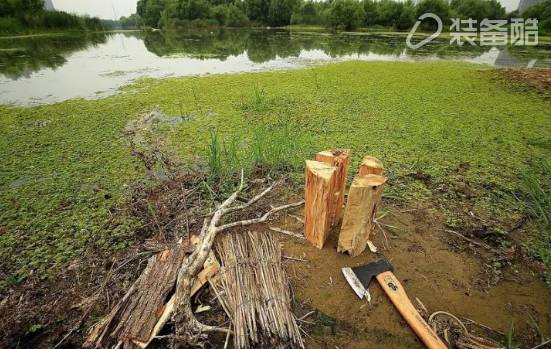
If the trunk on the hand is thick, you can use a saw axe to create a cross cooker. Methods as below:
First saw about 25 centimeters of dead trunk with a saw and an axe. (Note that it is a dead tree. You can't poison a tree that is in the growing period! It's easier to burn the trunk with full dryness, and to protect the ecology.)
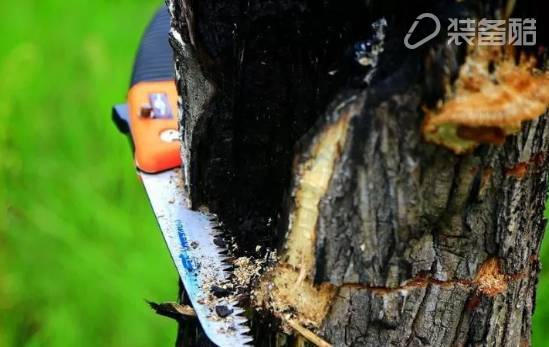
Use an axe and a hatchet to split the wood into four equal-sized pieces of wood. Separate the wood sections and place them at equal intervals. The spacing between the wood sections should not exceed 5 cm. Place the paper in the middle of the wood section from the bottom to the top (leaves or hay), fine branches, and finally place the pan on the cross cooker. If you can't find twigs on the site, you can find some dry bark.
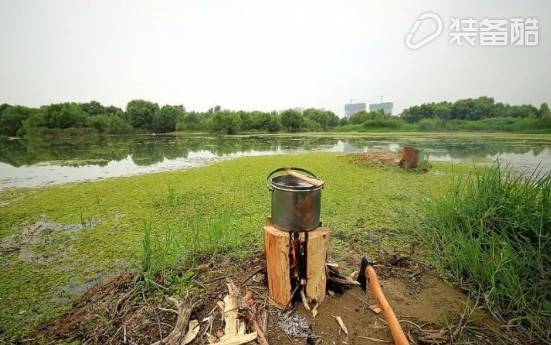
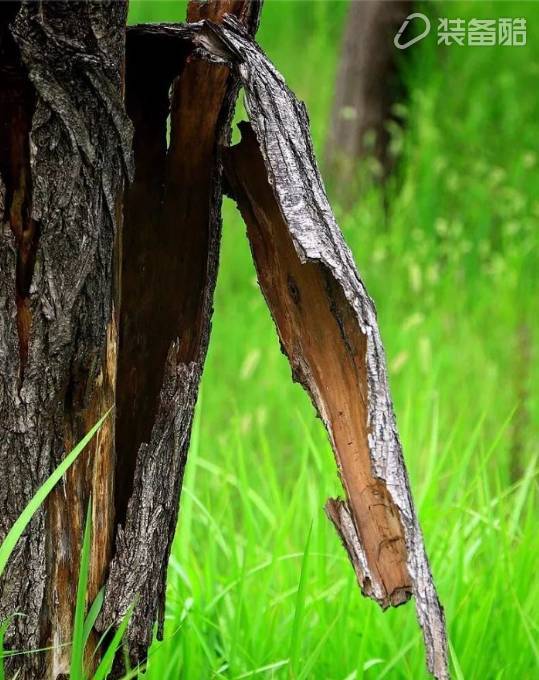
Similar to the three-segment wood stove, the litter ignited the twigs after the litter ignited. As the temperature of the burning twigs increased, it further ignited the four sections of wood, thus providing the pot above the pot with a long time heat source.

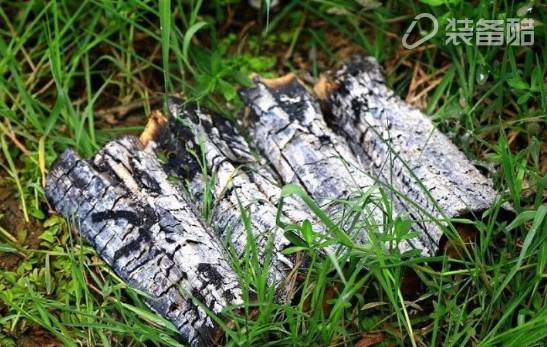
The unburned wood is extinguished with water and then buried with soil.
The third kind: Suspended stove
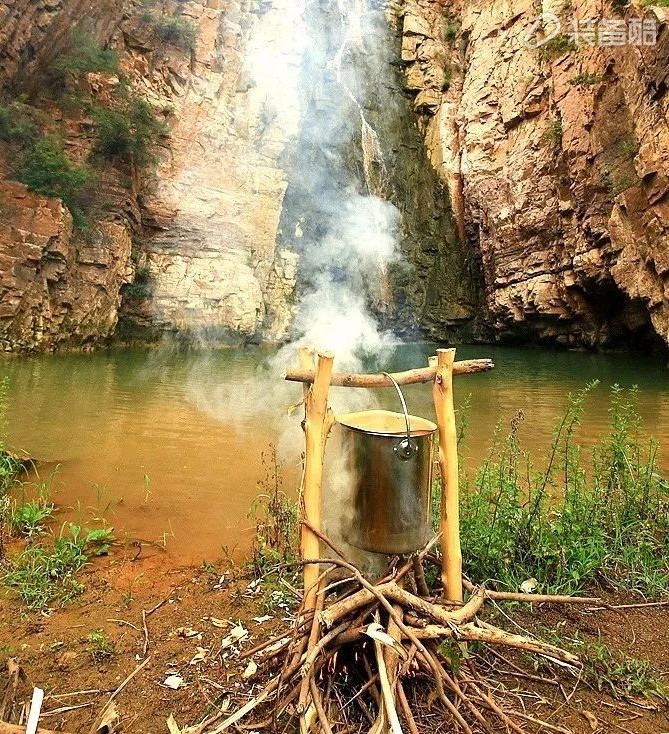
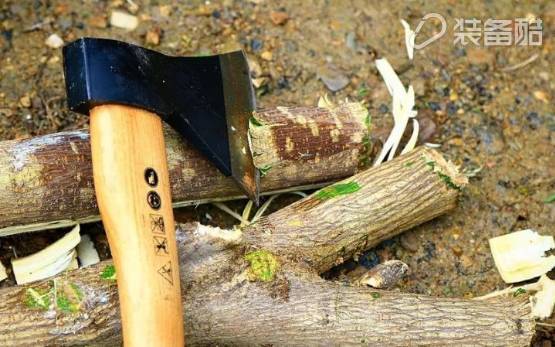
Suspended stoves need tools: saws, axes.
Select the tree trunk with a tree and fork, use a saw and an axe to make a "Y" shape wood, and use the axe to make a sharp point at the bottom.
Two "Y" shaped woods were wedged 10cm deep in the ground with an axe. The pots were then placed on a piece of horizontal wood and placed in a "Y"-shaped trough to place dry firewood underneath to cook.
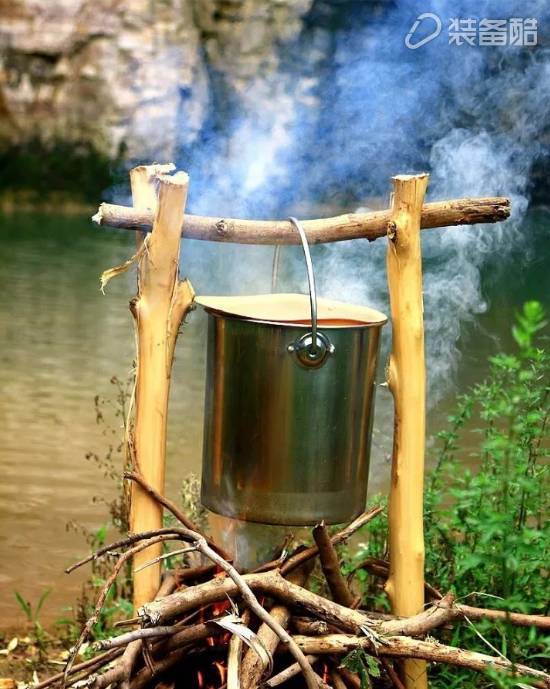
In order to prevent the burning time of the branches from being broken for too long, the "Y"-shaped tree fork and the horizontal wood are as thick as possible.
Note: The bottom of the pot is 20 to 50 cm below the ground. Excessive firepower is insufficient. Too low will cause burning difficulties.
Fourth: If the environment of the ground-style stove is strong, it can be used as a nest-style stove.
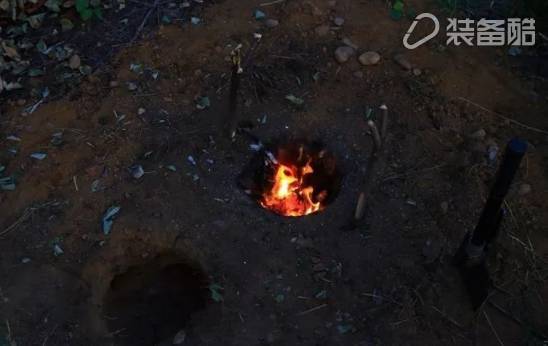
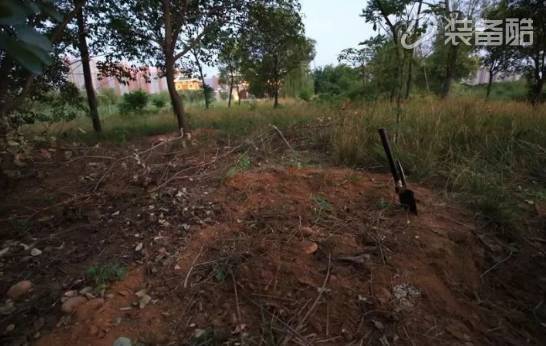
Method: Dig a pit with a diameter of about 30 cm and a depth of about 40 cm. Dig a hole 30 centimeters away from this pit 20 centimeters (this is an approximate number, mainly used to put the pot, slightly larger than the diameter of the pot can be.) The same depth of the pit, that is, the second pit, then the two from the bottom The hole runs through.
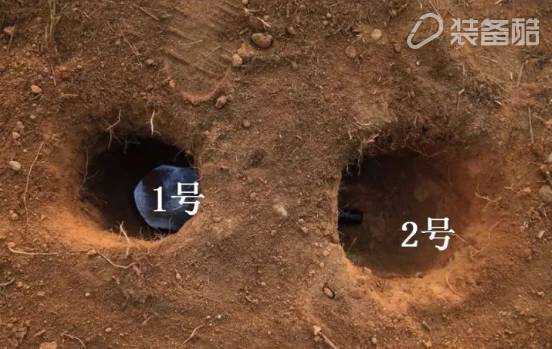
After the two pits, two “Y†wooden stakes and crossbars were installed above the pit to complete the preparations.
In the second pit, put paper scraps (leaves or hay), twigs, and thick branches from the bottom up, and finally lift the pot to a suitable height above the second pit.
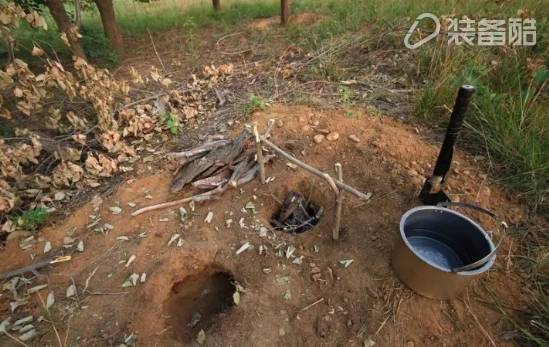
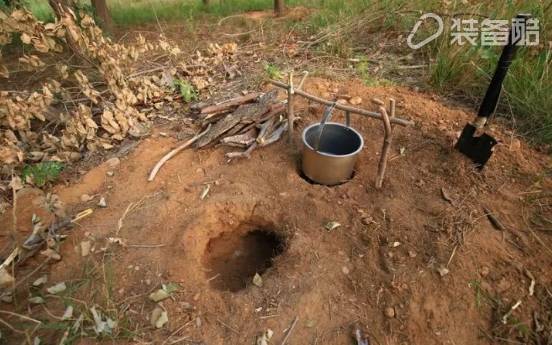
Ignition method: the fire source from the bottom of No. 1 pit through the two pits into the No. 2 pit lit litter paper.
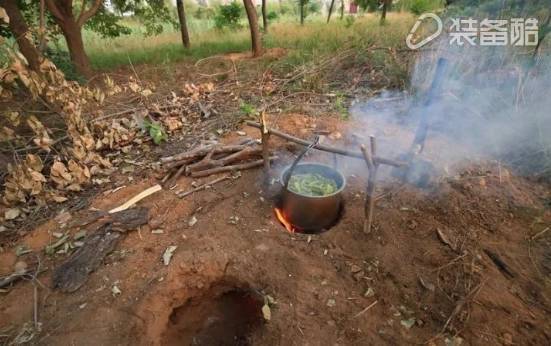
Extend: If you extend at least three flueways (about 15 centimeters deep and about 2-3 meters long) on ​​the second pit, use branches, straws, etc. above the flue. Up, cover the earth and cover the flue in a way that is far from the pot. Then turn it into the legendary, simplest and most practical military smoke-free stove. The main role of the military light-proof smoke spreader is to slowly disperse the smoke through a flue in a relatively large area so as to prevent the smoke from emerging at one point and be discovered by the enemy. Of course, due to the importance of war camouflage in military light-to-smoke dispersal stoves, it is necessary to use a solid seal between the bottom of the pot and the pit of No. 2; otherwise, the effect of avoiding light and scattering smoke will not be achieved.
In real life, usually outdoor picnics dig a nest-style cooktop to cook on the spot. It's time to dig a few long flues to build a military light-reduction stove, not only physically but also physically. significance.
Of course, after the picnic is over, we must remember to extinguish the fire and refill the pits to restore the original appearance.
The fifth type: the high-level desktop stoves are compared to the nest stoves, and the high-top stoves make it easier to accept. Because the stove is relatively high and the activities are relatively free, neither the firewood nor the accidental operation will make people feel that they are lying on the ground. Therefore, in the outdoor picnic picnic weekend, the high-level desktop stove is generally my first choice. The four stoves above this stove need more time and effort.
scene 1:
If the site has a slope, it can be used flexibly. It would be best if there were bricks at the site. You could build a stove with a higher value in the pit.
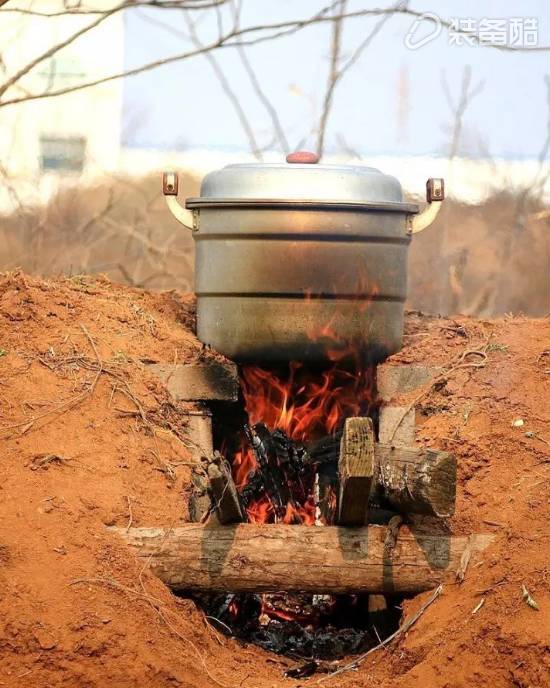
The role of the front bar is mainly to raise the height of firewood, ventilation and oxygen to fully burn the firewood, so as to avoid burning under the fire pit pit.
Scenario 2:
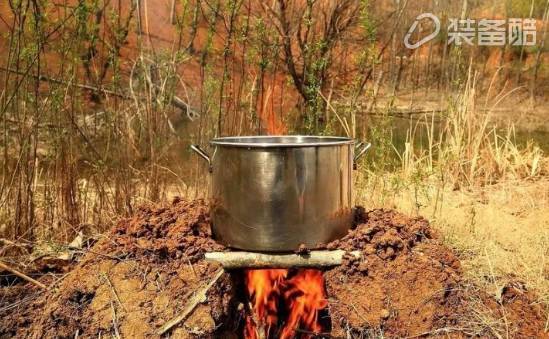
If there is no terrain that can be used, it should be based on local conditions, to take the ground to dig pits, piles of soil from the stove to build stoves.
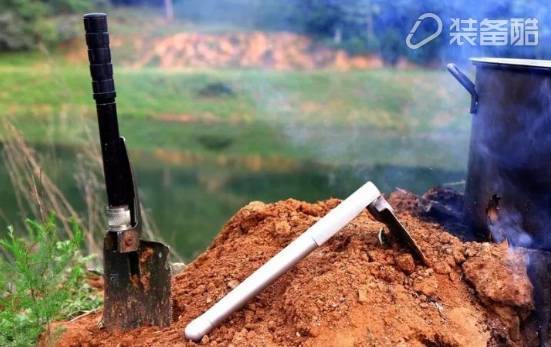
Here are two things to grasp: First, the soil from digging is just enough to build a stove. The second is that because of the lower pits, the naturally-generated “fall†just facilitates the operator to squat in the pit or sit on the pony bar instead of lying on the floor for cooking.
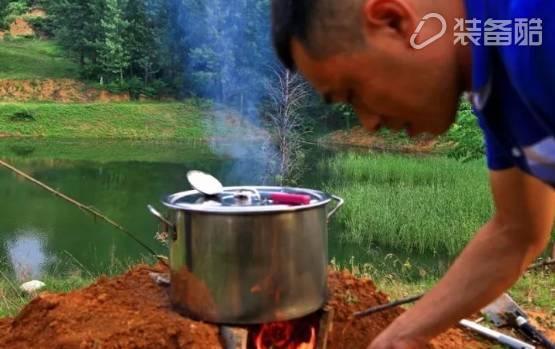
Scenario 3:
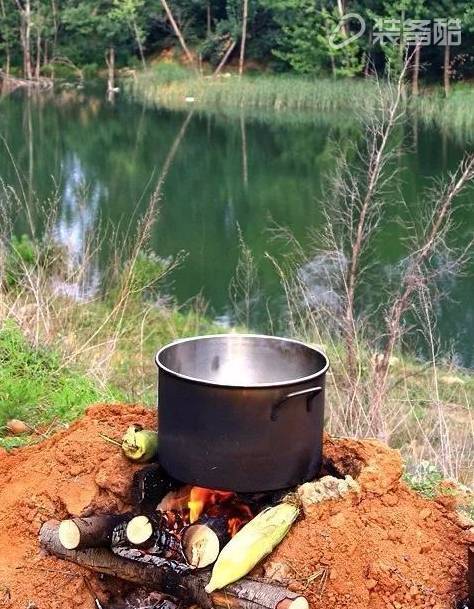
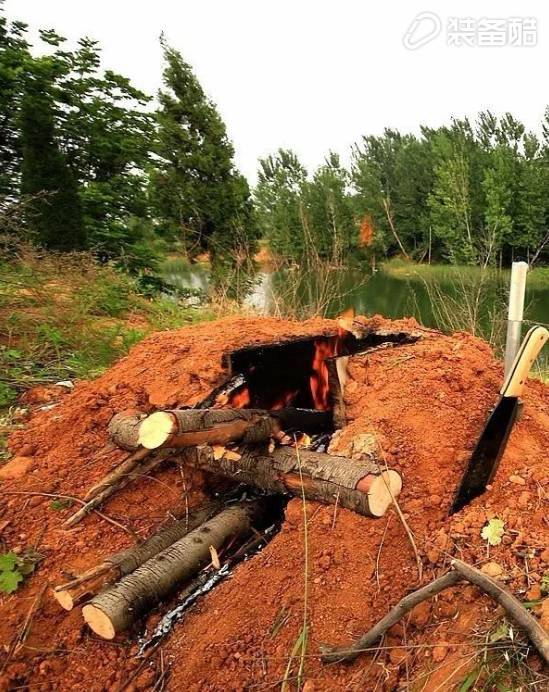
Digging flat pits, piles of soil starting stoves This method of cooking stoves is suitable for a variety of landforms, as long as they use their brains, all are stoves.
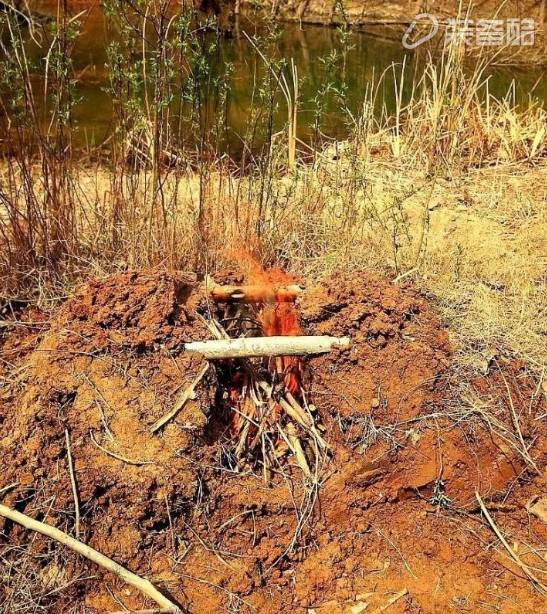
remind:
As a reminder, stoves should not use slate and softer rock (this can be checked by violent impact between rocks). All cracked, highly hollow or surface-exfoliated rocks should not be used.
In addition, wet stones, especially rocks that have been immersed in water, are even more careful. If they contain moisture, the heat expands faster, bursts easily, and deadly debris can spill.
After the incident is over, the fire should be extinguished and the embers buried in depth to level the ground to ensure consistency with the surrounding environment. Many forest fires are caused by the failure to completely deal with the aftermath of the fire. Therefore, it is critical that the ash be completely extinguished!
We use shadows and highlights to change the facial features. For example, if you think your nose is not strong enough and your chin is not sharp enough, you can fix it by repairing your face. It is a very magical makeup method. It can change a person's face shape and make you look thinner and more beautiful. However, it should be noted that facial repair is also a technical activity, which requires more practice to find a suitable facial repair plan. You must not hope to improve your appearance at the beginning. The most important thing is to accept your appearance from the bottom of your heart, cultivate your connotation and not be superficial.
Bronzer,Face Contouring Makeup Bronzer,High Quality Bronzer
Suzhou Yimeijia368 Biological Technology Co.,Ltd. , https://www.szymjbeauty.com